Colour is the first thing a dive takes from you. At sixty feet on a bright afternoon the reds are already gone, the oranges have turned brown, and a fish that looked like a painted postcard on the boat reads gray-green by the time you reach the sand. At night it happens all at once, the second you roll off the transom into black water. Everything in front of you is a shape, and the shape has no colour in it at all.
I am not a lighting engineer. I am a retired marine electrician who spent thirty-three years watching what salt water does to anything with a switch on it, and I dive the same ledges and sand everyone else does, twenty to sixty feet, nothing past that. I bought a Genwiss dive light about eighteen months ago, roughly ninety dives back, when the plastic club loaner I had been carrying stopped coming back on after a dive. Since then I have worked out a routine for pulling colour back out of the dark. It is five steps, and only the last one is really about the light itself.
The colour is still down there. It just needs light put on it correctly.
The Genwiss dive light runs an XPL LED rated 1000 lumens on the spec sheet, with five modes on one switch: high, medium, low, strobe and SOS. Aluminium alloy body with an anti-abrasive coating, one lithium-ion battery and a USB charger in the box.
Amazon Check Today's Price on Amazon →Step 1: Get the light close to the subject, not out in front of you
My first few night dives I held the light out at arm's length, low and forward, the way you would carry a flashlight across a dark yard. That is exactly wrong in water. The beam lights up every suspended particle between the torch and the reef, and what comes back at you is a wall of snow with a faint shape somewhere behind it. Divers call it backscatter. It is the main reason people decide a light is not bright enough when the light is perfectly fine.
The fix is distance, not power. Bring the torch in close, within a foot or two of the thing you want to look at, and hold it off to the side of your line of sight instead of directly behind it. You are shortening the stretch of dirty water the beam has to travel through, and you are moving the glare out of your own eyes. The cone gets smaller and much more useful, and colour shows up in it.
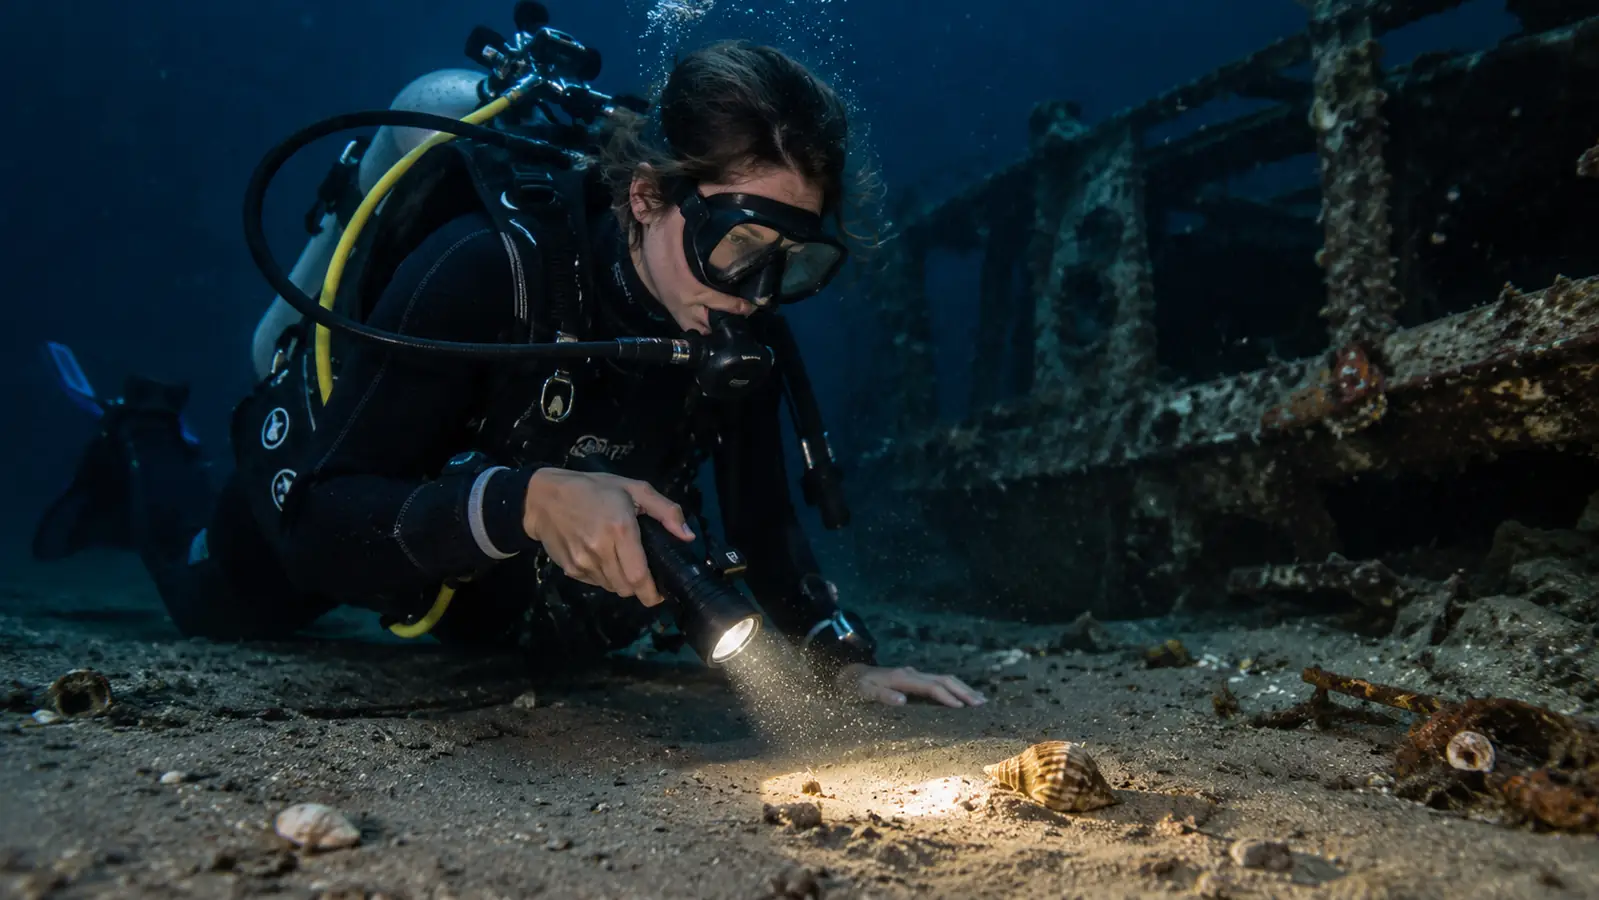
On a wreck this is the whole game. Hull plating, encrusted bolts, the inside of a porthole frame, none of it shows colour from six feet away at night, because the beam is fighting the water the entire way. Put the light close and angled across the surface and the reds and oranges sit up. It is the same principle as running a torch along a wall in a dark room instead of shining it across the room.
Step 2: Match the mode to the distance and stop using high for everything
The light has five modes on one switch: high, medium, low, strobe and SOS. Strobe and SOS are signalling modes. They are for getting a boat's attention or marking your position, not for looking at anything. A strobing beam on a night dive wrecks your night vision and your buddy's, and it is the fastest way to get yourself spoken to on the ride back in.
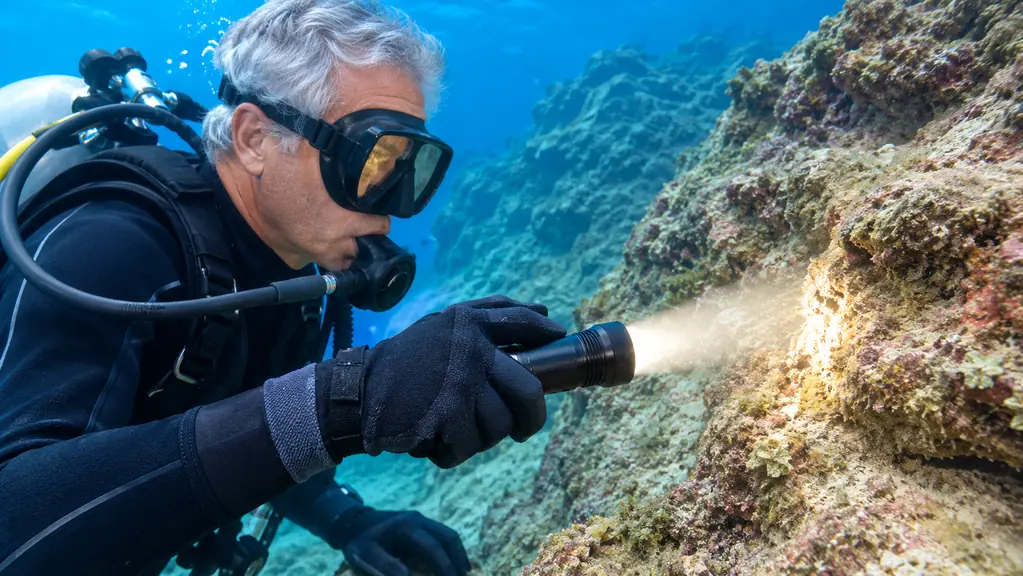
High is what I use for the wide sweep, the slow pan across the sand or down a hull that tells me where I am and what is thirty or forty feet out. Medium is what I use for actual looking. A 1000 lumen beam held two feet from a coral head washes colour straight out to white, so backing it down is how you get the reds to read instead of blowing them out. Low is for a crevice, for looking at something small without blinding it, and for reading a gauge or a compass without giving up my night vision for the next five minutes.
One honest note about the number. The spec sheet lists 1000 lumens, and at twenty to sixty feet that is enough to bring colour back at close range in water with reasonable visibility. It is not enough to bring red back at eighty feet, and neither is anything else a recreational diver is going to carry in one hand. Anyone telling you a hand-held light restores full colour in deep water is selling, not diving.
Step 3: Slow the sweep down and give your eyes ten minutes
Colour is not only about how much light lands on something. It is about how long your eye gets to look at it. On a night dive your pupils are wide open and your colour vision is running on very little, and it takes a good ten minutes in the water before the two of them settle down. The divers who tell me at the surface that they cannot see any colour are usually the ones who were still moving at boat speed two minutes in.
So slow the beam down. I count roughly two seconds for every foot of travel when I am panning sand, which feels absurdly slow and is about right. An object has to stay lit long enough for your eye to register a colour rather than just a shape. Sweeping fast turns a reef into a gray blur that happens to be brightly lit.
On a sand hunt, slow has a second payoff. A ring or an old coin is a small dark edge sitting in flat sand, and the only way it announces itself is a shadow. Drag the light slowly and low across the bottom and things that were invisible at speed throw a shadow long enough to catch your eye. I have found more on slow passes than fast ones, and I have swum straight over plenty going fast.
Step 4: Point it low along the surface and let the shadows do the work
Straight-on light flattens everything it touches. It fills in the texture and kills the shadow, and you get a bright, dull picture with no depth in it. Lay the beam down almost parallel to the surface instead, and every bump, ridge and edge throws its own shadow. Coral heads, rust lines, the lip of a buried plate, all of it stands up and reads as a three-dimensional thing instead of a bright smudge.
That low angle is also the polite way to dive with a buddy. Keep the beam below eye level and angled across the bottom rather than forward into open water, and you stop throwing glare into Cal's mask every time he turns his head. We agreed on that years ago after one night dive where we spent more time squinting at each other than looking at anything on the bottom.
The same trick keeps you out of the silt. A beam pointed forward and down in front of your fins lights the cloud you are about to make and then shows you the cloud for the rest of the dive. Aimed backward along the sand behind your fin tips, it never touches it. And when you are shallow on a fifteen foot night dive, a beam aimed flat out ahead bounces off the surface and comes back as a white sheet. Aimed down and along the bottom, it stays usable.
Step 5: Rinse it and charge it before the salt gets a chance
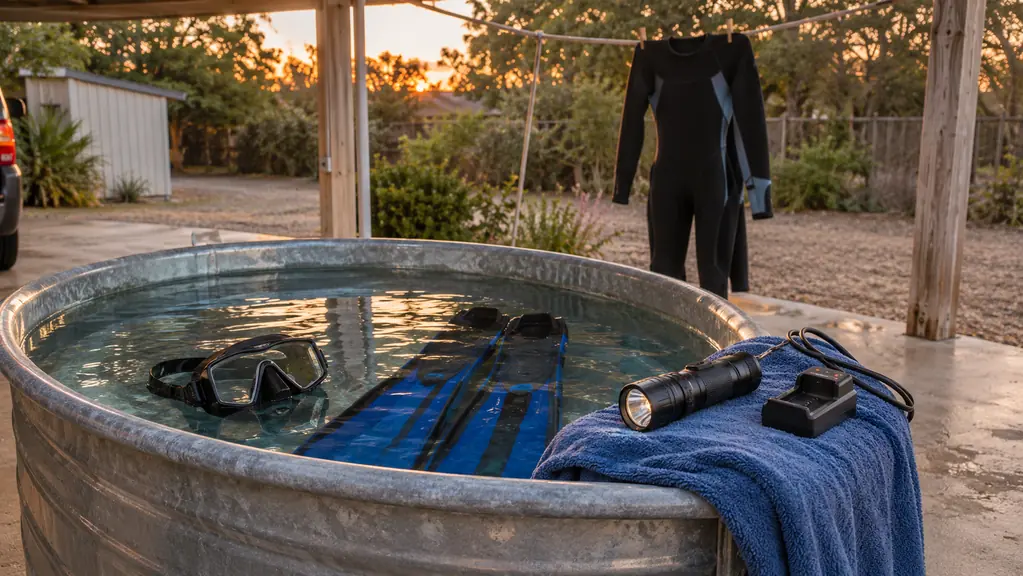
I spent thirty-three years repairing things that failed because nobody rinsed them. A dive light is a battery, a switch and a seal, and the seal is the part that ends the relationship. Rinse the whole light in fresh water after every saltwater dive, work the switch while it is under the tap, and dry it before you open it up to get at the battery. At home that means the outdoor rinse tub under the carport, the same one the mask and fins go in, then a spell on the clothesline.
The kit is one lithium-ion battery with a USB charger included, so the routine is charge the night before a dive, not the morning of. A light that lives in the back of the 4Runner through a Florida summer will lose charge sitting in the heat, and that is true of every lithium battery I have ever owned. Mine goes on the charger the evening before a trip and goes back on it the morning after.
The body is aluminium alloy with an anti-abrasive coating, and mine has taken knocks on ladder rungs and on limestone entries without complaint. What will not tolerate neglect is the seal and the switch. Salt sits in the gaps and dries hard, and the day you need the light most is the day the switch stops clicking. Two minutes at the rinse tub is cheap insurance on a piece of gear you are trusting with your night vision.
What Else Helps
A light is one tool in the job, and the rest of the kit decides how much of that light you actually get to use. A scratched mask lens scatters the beam straight back into your eyes at night, so a mask that is perfectly fine in daylight can make a good light look weak. Distance matters more than lumens. Colour comes back at four to six feet and stops coming back much past thirty, whatever you are carrying. Water clarity matters more than both.
Buddy habits matter too. Two beams crossing on the same fish wash it out and neither diver sees the colour. Agree before you splash who is lighting what, and let your buddy hold the wide sweep while you work close. That one arrangement has done more for my night diving than any change of equipment.
And here is what the Genwiss does not do, because I would rather tell you than have you find out on a boat. There is nothing on the light that tells you how much charge is left, so that discipline has to come from you. It runs a single battery, so a spare is worth carrying on any day with several dives in it. It will not turn a green, twenty foot visibility day into a colour film. It averages about 4.2 stars across roughly two and a half thousand reviews, which for a light at this level is about what I would expect: good, not perfect, and it needs rinsing.
What the Genwiss does do is put a usable 1000 lumens and five sensible modes in your hand, in a body that has taken ninety dives of my handling without a leak. For a recreational diver working twenty to sixty feet, that is the whole job.
At ten feet the reds come back in the beam. At fifty feet nothing brings red back, and that is the water, not the torch.
Ninety dives in, still the light I reach for on a night boat
High, medium, low, strobe and SOS on one switch. XPL LED rated 1000 lumens. Aluminium alloy body with an anti-abrasive coating. One lithium-ion battery and a USB charger included. Rinse it, charge it, and it does the job at twenty to sixty feet.
Amazon Check Today's Price on Amazon →